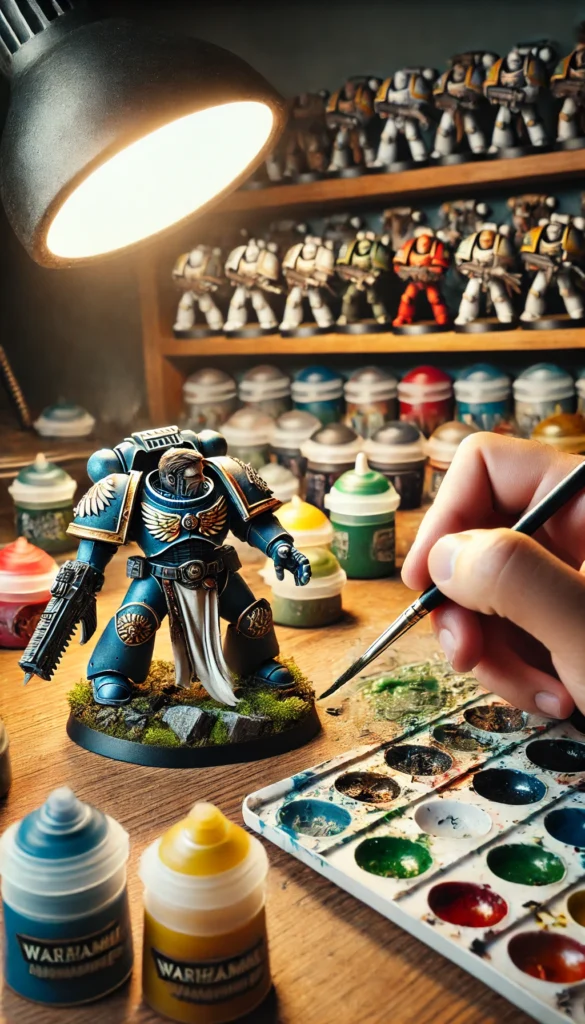
Warhammer miniatures are more than just game pieces—they’re a canvas for creativity, a test of patience, and a source of endless satisfaction when painted well. Whether you’re a complete beginner or looking to refine your skills, this guide will walk you through everything you need to know about painting Warhammer miniatures.
You’ll learn how to prepare your miniatures, avoid common beginner mistakes, and achieve a professional-looking finish—without the frustration. Plus, I’ll share hard-earned tips from 15 years of experience, so you can sidestep the usual pitfalls and get great results faster.
Let’s dive in!
What You Need to Start Painting Warhammer Miniatures
Before picking up a brush, it’s essential to have the right tools. Here’s what you need:
Best Paints for Miniatures
- Acrylics – The most commonly used and beginner-friendly option. Brands like Citadel, Vallejo, and Army Painter offer excellent choices.
- Oils & Pigments – More advanced, used for blending and weathering effects.
- Wash & Inks – Thin paints designed to settle into recesses, adding depth effortlessly.
🛑 Beginner Tip: You only need a small selection of colors at first. Many beginners make the mistake of buying too many, leading to a chaotic, overly bright color scheme.
Brush vs. Airbrush – Which One to Use?
- Brush – Great for beginners. Stick to synthetic or sable brushes with a good body to hold moisture, preventing paint from drying too fast.
- Airbrush – Ideal for smooth base coats and gradients but requires more skill and setup.
Other Essential Tools
- Palette – A wet palette is ideal for keeping your paints fresh.
- Primer – Essential for paint adhesion; choose black, white, or gray depending on your style.
- Varnish – Protects your work from scratches and handling.
Preparing Your Miniature Before Painting
1. Cleaning and Removing Mold Lines
Straight out of the box, Warhammer miniatures often have mold lines and excess plastic from the casting process. Use a hobby knife or sanding sponge to clean these up—they WILL show through the paint if left untreated.
2. The Importance of Priming
A proper primer layer is the foundation of a smooth paint job.
- Black Primer – Great for a darker, shadow-heavy look.
- White Primer – Brighter and more vibrant colors.
- Gray Primer – A neutral middle ground.
🚨 Pro Tip: Spray primers work best when applied in thin, even layers. Hold the can 8-12 inches away and use short bursts to avoid clogging details.
Base Coating – Getting the Perfect First Layer
Should You Dilute Your Paint?
There’s a myth that paints must always be thinned, but that’s not always true. If your paint is fresh from the bottle, don’t dilute it! Modern miniature paints are formulated to apply smoothly straight from the pot.
However, if you’re using old paints, you might need to thin them slightly with water or a medium. Older paints tend to dry out, and older formulations weren’t as smooth as today’s.
Brush vs. Airbrush for Base Coating
- Brush: Ideal for beginners, but always apply thin layers.
- Airbrush: Provides a smoother finish but has a learning curve.
Avoiding the “Toy-Like” Look – How to Achieve a Realistic Finish
One of the most common beginner mistakes is ending up with miniatures that look like plastic toys instead of battle-hardened warriors. Here’s how to fix that:
1. Control Your Color Palette
Beginners often use too many colors, resulting in a chaotic and unrealistic appearance. Instead:
✔ Use a limited palette—stick to 3-4 colors and their shades.
✔ Follow color theory—use complementary or analogous colors for harmony.
2. Avoid Over-Saturation
Highly saturated colors make miniatures look unnatural. To tone them down:
✔ Mix in muted tones—adding gray, brown, or black to your paints.
✔ Use washes and glazes to break up brightness.
How to Paint Details with Precision – The Right Brush Technique
1. Stop Using Super Tiny Brushes
Many beginners assume that smaller brushes = better detail, but that’s a mistake! A tiny brush dries too fast, making it hard to paint details cleanly. Instead, use a small brush with a good body to retain moisture.
2. Only Load Paint on the Tip
✔ Dip just the tip of the brush into the paint.
✔ Keep the rest of the bristles damp to prevent drying out.
3. Let the Technique Do the Work
Instead of trying to “paint precisely,” use techniques like dry brushing, edge highlighting, or glazing—they naturally create clean details with minimal effort.
Advanced Miniature Painting Techniques (For When You’re Ready)
Once you master the basics, try these advanced techniques:
- Washing & Shading – Adds depth with minimal effort.
- Dry Brushing – Quick way to highlight raised details.
- Edge Highlighting – Makes armor and weapons stand out.
Sealing and Protecting Your Miniature
Once finished, protect your miniature with a matte or gloss varnish to prevent wear and tear.
- Matte varnish = realistic, battle-worn look.
- Gloss varnish = good for metallics or slimy effects.
🚨 Pro Tip: Avoid “frosting” by applying varnish in thin layers and at the right humidity level.
Common Beginner Mistakes and How to Fix Them
- Paint too thick? Apply thinner layers and build up gradually.
- Messy details? Use a wash or edge highlighting for natural contrast.
- Colors too bright? Tone them down with muted shades.
Conclusion – The Key to Improving Your Miniature Painting Skills
Miniature painting is a skill that improves with practice. The key is patience, understanding the fundamentals, and using the right tools.
With these techniques, you’ll be painting professional-quality Warhammer miniatures in no time. Now, grab your brushes, pick your army, and start painting!
🔗 What’s next? Check out my courses for in-depth tutorials on advanced techniques. 🚀
I think it makes no sense to extend the post any further because the information, to be assimilable, has to be progressive so I’m giving for free more tips to improve your painting via e-mail. Join here.
Last posts:


